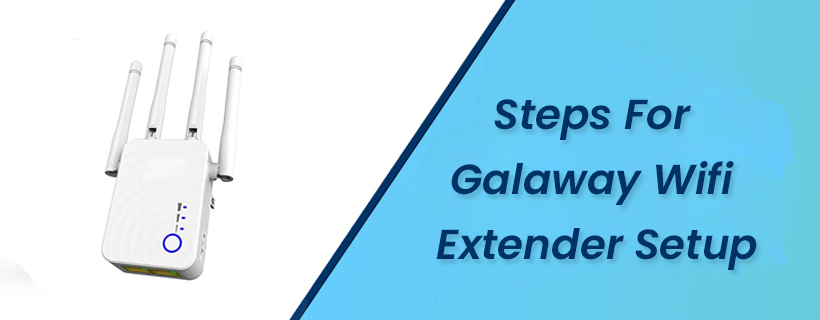
Steps For Galaway Wifi Extender Setup
‘Wifi Extender’ is your panacea for all the wifi-related problems, whether it is network speed, poor connectivity, or less range. Every wifi problem is solved or at least reduced to some extent with the help of a wifi extender. So, if you have understood the fact and got your hands on Galaway wifi extender then this is your space. In this blog, we will explain the Galaway wifi extender setup so that anyone, even with no technical knowledge can set up the extender and enhance the wifi signals. Stay with us to know more.
Step-By-Step Instructions For Galaway Extender Setup Using WPS Button:
Here are the easy instructions for Galaway wifi extender setup using WPS button, follow them to boost your wifi network’s performance;
- Step 1: Plug the wifi extender into a fully functional AC socket near your wifi extender so that the signals are not disrupted.
- Step 2: Press and hold the button for a few seconds and then release.
- Step 3: Press the WPS button on your Galaway wifi extender within 40 seconds.
- Step 4: Wait for 30 seconds to connect the extender to the router.
- Step 5: The wifi extender LED light will start blinking. Check whether the wifi extender network is showing up in the wifi list or not.
- Step 6: Connect to the Galaway’s SSID when it appears.
So, that was a hassle-free and quick way to connect to your wifi extender’s network without any wifi password.
Step-By-Step Instructions For Galaway Extender Setup Using Computer:
There is one LAN and WAn port in the device because it can be set up in access point and router mode. Here are the easy instructions for galaway extender setup using computer, follow them to enhance your wifi network’s performance;
- Step 1: Connect to the LAN port for a physical connection or to the wifi for a wireless connection.
- Step 2: Open your desired internet browser and open the URL ap.setup or the IP address 192.168.10.1 to log into the extender dashboard.
- Step 3: To access the setup wizard, enter the default password ‘admin’.
- Step 4: Initiate the setup wizard and then scan for the available networks.
- Step 5: Enter the wifi password for your existing wifi network after clicking on it.
- Step 6: Click on the Next button and create the Galaway extender’s name.
Step 7: Finish the process and wait for the settings to be saved and the device to restart once.
That was the Galaway extender setup using a computer or web browser method. This process is a little time-taking but equally easy.
Galaway Extender Setup Complete…
Wasn’t that an easy way to perform Galaway wifi extender setup? Indeed, it was with our easy step-by-step instructions. You can easily set up the wifi extender on mobile or computer and even with the WPS button. In case of any doubts or queries connect with our tech experts online through the chat support window to get them solved in no time. Tada!

