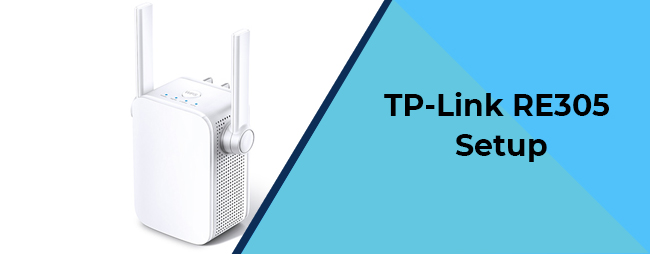
TP-Link RE305 Range Extender Setup
Are you tired of WiFi dead spots in your home or office? Well, TP-Link RE305 is an amazing device with which you can easily strengthen and expand the wireless network into the areas where it can’t reach on its own. With this wireless range extender, you can connect more devices with 2.4GHz 300Mbps and 5GHz 867Mbps dual bands. You can use the 5GHz band for HD streaming and gaming, and 2.4GHz band to browse the web and send an email. But to use all of these functionalities, you firstly need to perform TP-Link RE305 wireless range extender setup. In this blog, we have highlighted simple guidelines for TP-Link RE305 setup. Check out the steps.
Instructions for TP-Link RE305 Wireless Range Extender Setup
Go through the below instructions step-by-step for the TP-Link RE305 wireless range extender setup on your device:
Step 1: The first step is to unwrap the TP-Link re305 WiFi range extender including packing material and protective tape all around it.
Step 2: After that, place your wireless extender closer to the TP-Link WiFi router.
Step 3: Thereafter, unplug the modem.
Step 4: Now, you can connect your modem and TP-Link extender.
Step 5: Next, connect your device to the power supply.
Step 6: Check whether the power of the TP-Link extender is working well or not. In case, it is not working properly then press the on or off button of the TP-Link extender.
Step 7: Connect your TP-Link wireless range extender with the computer or laptop whatever you are using.
Step 8: Launch the internet browser of your choice from your system.
Step 9: Enter either www.tplinkrepeater.net or the IP address 192.168.0.254 in the address bar of the internet browser.
Step 10: In the next step, enter the username and password to the respective fields. Both the default username and password of the TP-Link extender is “admin”.
Step 11: Now, you see that the setup wizard will display on the screen where you have to enter the region, time and language.
Step 12: Once you complete the TP-Link RE305 setup, you can access the settings.
Steps for TP-Link RE305 Setup through WPS
Look at the below steps for the TP-Link RE305 setup by using the WPS method:
Step 1: The first step is to plug-in your TP-link re305 extender in the same room in which you have placed your router within 5-10 feet of range.
Step 2: Now, you have to wait for some time until the power LED light on your extender turns to solid blue.
Step 3: Press and hold the WPS button for around 4-5 seconds on your configured router.
Step 4: Next, repeat the same process for your repeater. Press the WPS button on your extender for 4-5 seconds.
Step 5: You will see that the WPS LED light on the router and extender will start blinking.
Step 6: The TP-Link repeater re305 will hardly take 10-15 seconds to get connected with your router.
Step 7: Once the connection has been connected successfully, the WPS LED or the signal LED light will turn to solid blue on TP-Link extender.
Step 8: Unplug the extender and place it where you need to expand the internet connectivity.
Step 9: The best coverage place for the extender is halfway between router and where you need the internet.
Note: Make sure to place the TP-Link re305 extender away from the big appliances such as microwave, fish tank, etc.