Netgear Powerline 1000 Setup
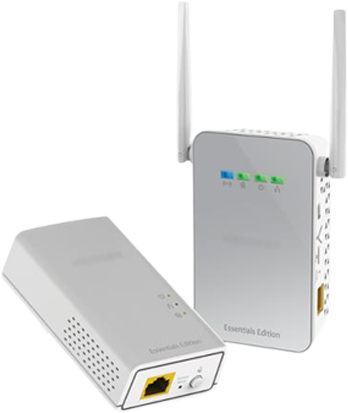
A Netgear powerline 1000 is a unique type of extender that helps you capitalize on your existing electrical wiring and outlets to boost your home network’s range. Why is this important? Well, those of you that live in a large home or a very spacious apartment will relate to the feeling of your internet connection not reaching every room. This is where the Netgear Powerline 1000 setup guide will help you out.
What is the Netgear Powerline 1000?
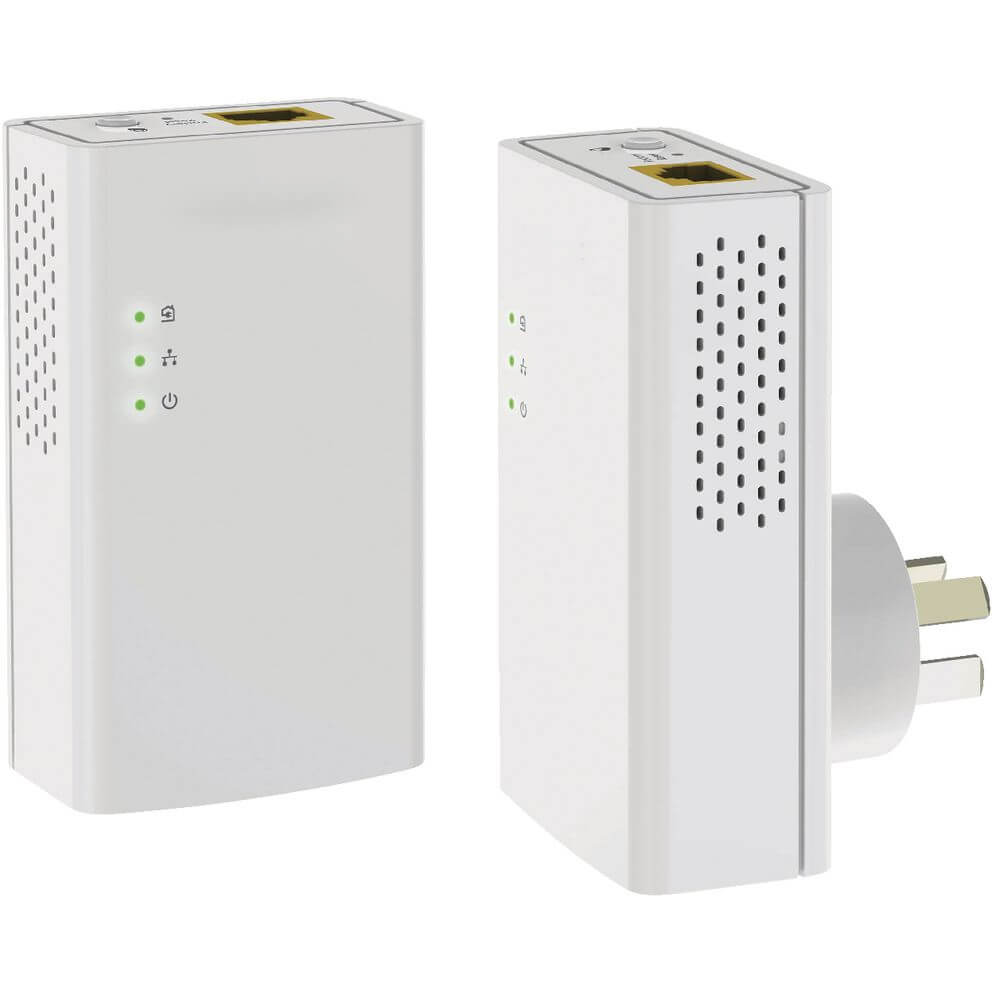
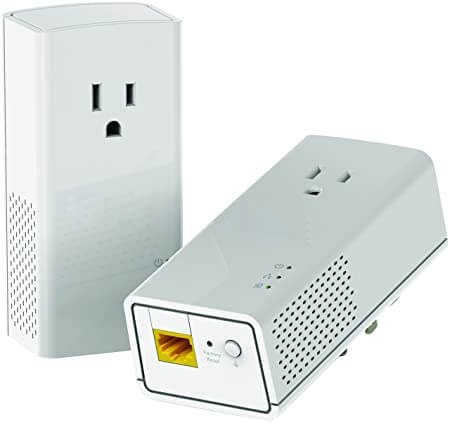
We are sure that you all are aware of wifi range extenders or signal boosters. This device is similar to an extender. It’s similar in the way that the purpose of these devices is to extend the reach of your internet connection so that it’s available throughout your home. Where a wifi extender connects with your router wirelessly and extends the signal range, the Netgear powerline 1000 connects to the electrical outlets of your home to create a unique network.
It can also be used with a Netgear powerline WIFI access point to make the network wireless. You can use up to a maximum of eight adapters in this network to keep extending the range of the network. The Netgear powerline has a lot of commercial use as well in large buildings or shopping malls.
Netgear Powerline 1000 Setup and Installation
In this section, we will go over the steps needed to successfully set up and install the Netgear powerline 1000.
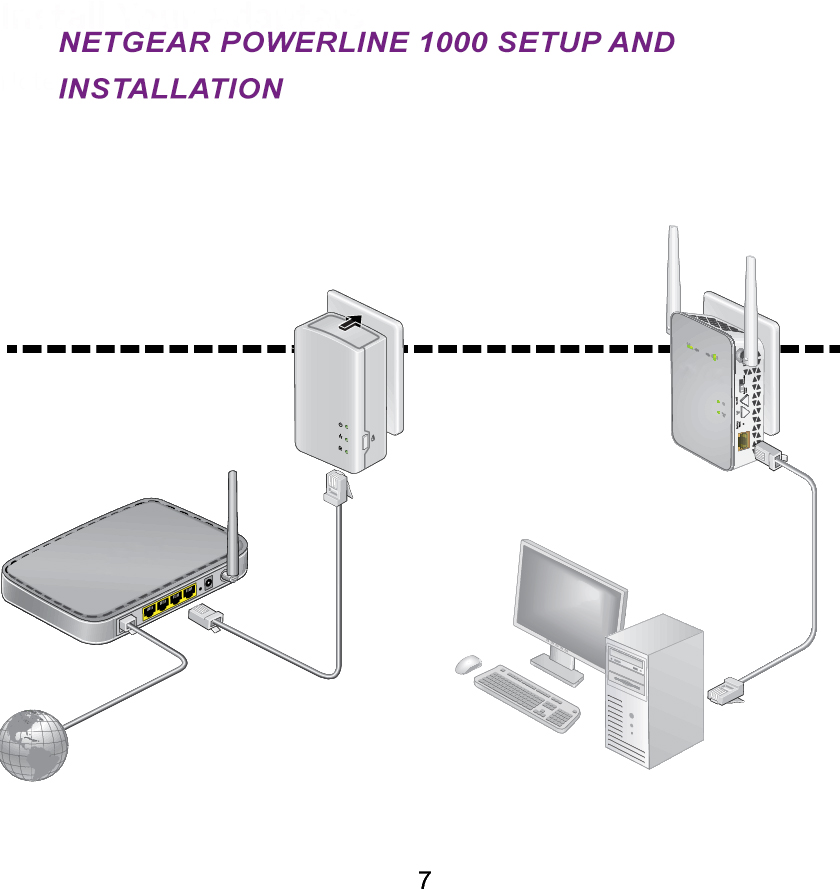
Plug in the adapters to electrical outlets. Do not connect them to any power strip or extension cords
Make sure they are plugged in near your router
Use an ethernet cable to connect your adapter to the router using one of the router’s LAN ports
Plug the second Powerline adapter near a room where you wish to add internet access in your home
Wait till the Pick A Plug LEDs are on
Use an ethernet cable to connect your computer or any other device to the adapter
For a wireless network, connect the Powerline wifi access point to an electrical outlet
Use your computer or whichever device you have to connect to the Powerline’s wifi network
You can easily spot the network name on the label at the bottom of the device
Once you can connect with the network, the installation process is completed
How to Use WPS to Connect to Your Powerline Wireless
Below are the steps to follow if you want to use WPS to connect with the Powerline WIFI access point.
Press the WPS button on the Powerline wifi access point and hold it down for two seconds
Now, release the WPS button
You will notice that the WIFI LED will start to blink
Then, press the WPS button on the wifi device and hold it down for two seconds
Release the WPS button after two seconds
When the WIFI LED will stop blinking, it will mean that a connection has been established
Connect to the web and check if you can go online
Adding Additional Netgear Powerline 1000 Adapters
Another aspect of the Netgear Powerline 1000 setup is installing or adding additional adapters. As we mentioned before, you can add up to eight adapters to your network. Below are the instructions on how to do it.
You can do this just before the security setup. Here is how:
Plug the adapter into the wall outlet of the room where you want to add
If you are using a private encryption key, then press the security button on one of the adapters that are already part of the network for two seconds.
After that, press the security button on the new adapter for two seconds
Remember, both the security buttons have to be pressed within the two-minute window
That is it, the new adapter has been added to the network
How to Customize the Network Security During the Netgear Powerline 1000 Setup
One thing you must know beforehand. The default security key is common for all new adapters. To create a secure network that is private to you, follow these steps:
Wait for the Pick A Plug LEDs are on
Press the security button for two seconds on one of the powerline adapters
In two minutes, press the security button on the second adapter.
Note: If you have the power saving mode on, the security button will not work
Common Troubleshooting to Perform on the Netgear Powerline 1000
Like any device, your Netgear powerline 1000 can also have some glitches at times. In the below section, we will discuss some common errors that you can face along with how you can try to fix them on your own.
The Power LED is Off
If your device’s power LED will not turn on, then you should check to see if the electrical outlet that it’s plugged into has a power supply. Sometimes the Netgear Powerline 1000 is fine but the outlet it’s plugged into is not working. In this case, plug the device into another outlet and see if the Power LED comes on. You should also make sure that the powerline is plugged directly into a power outlet and not into a power strip or an extension cord.
The Power LED is Orange
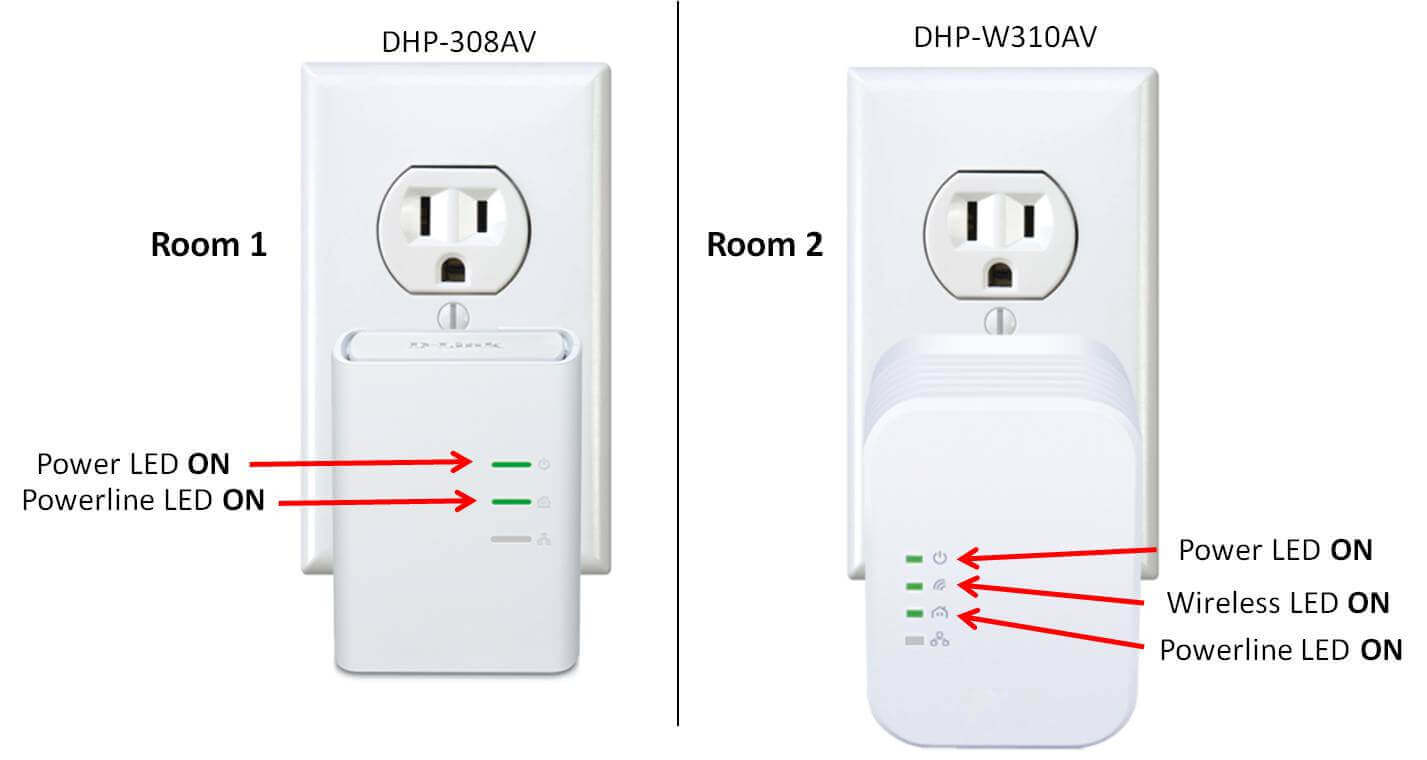
If the power LED of the device is orange or amber, then it means that your Netgear Powerline 1000 has gone into power-saving mode. This can occur due to the following reasons –
The ethernet cable is unplugged from the device
The device that is connected using the ethernet cable is powered off
The device has been idle for over 10 minutes. Once the adapter is connected via an ethernet cable, it becomes active in 2 seconds
Ethernet LED Won’t Turn On
Below are a couple of steps you can take if your Netgear Powerline’s ethernet LED won’t come on.
Check to see if all the ethernet cables are working properly and confirm their connection to make sure they are properly attached
If all the wires are properly attached, then press the reset button on all your adapters for two seconds to send them into factory settings again.
Updating your Netgear Powerline 1000 Firmware
To avoid these issues, it is best to keep your powerline 1000’s firmware up to date. This post about the Netgear Powerline 1000 setup will not be complete without telling you how to update this device’s firmware.
Much like your regular Netgear router, your Netgear powerline 1000’s firmware also needs to be regularly updated. Failing to do so on time may result in several bugs in the working of these adapters.
Here are the steps to update its firmware:
Note: Before starting this process, note down all the changes you have made to the settings of your device since you got it. In case the firmware is updated and your adapter goes into factory reset mode, you can make the changes manually again.
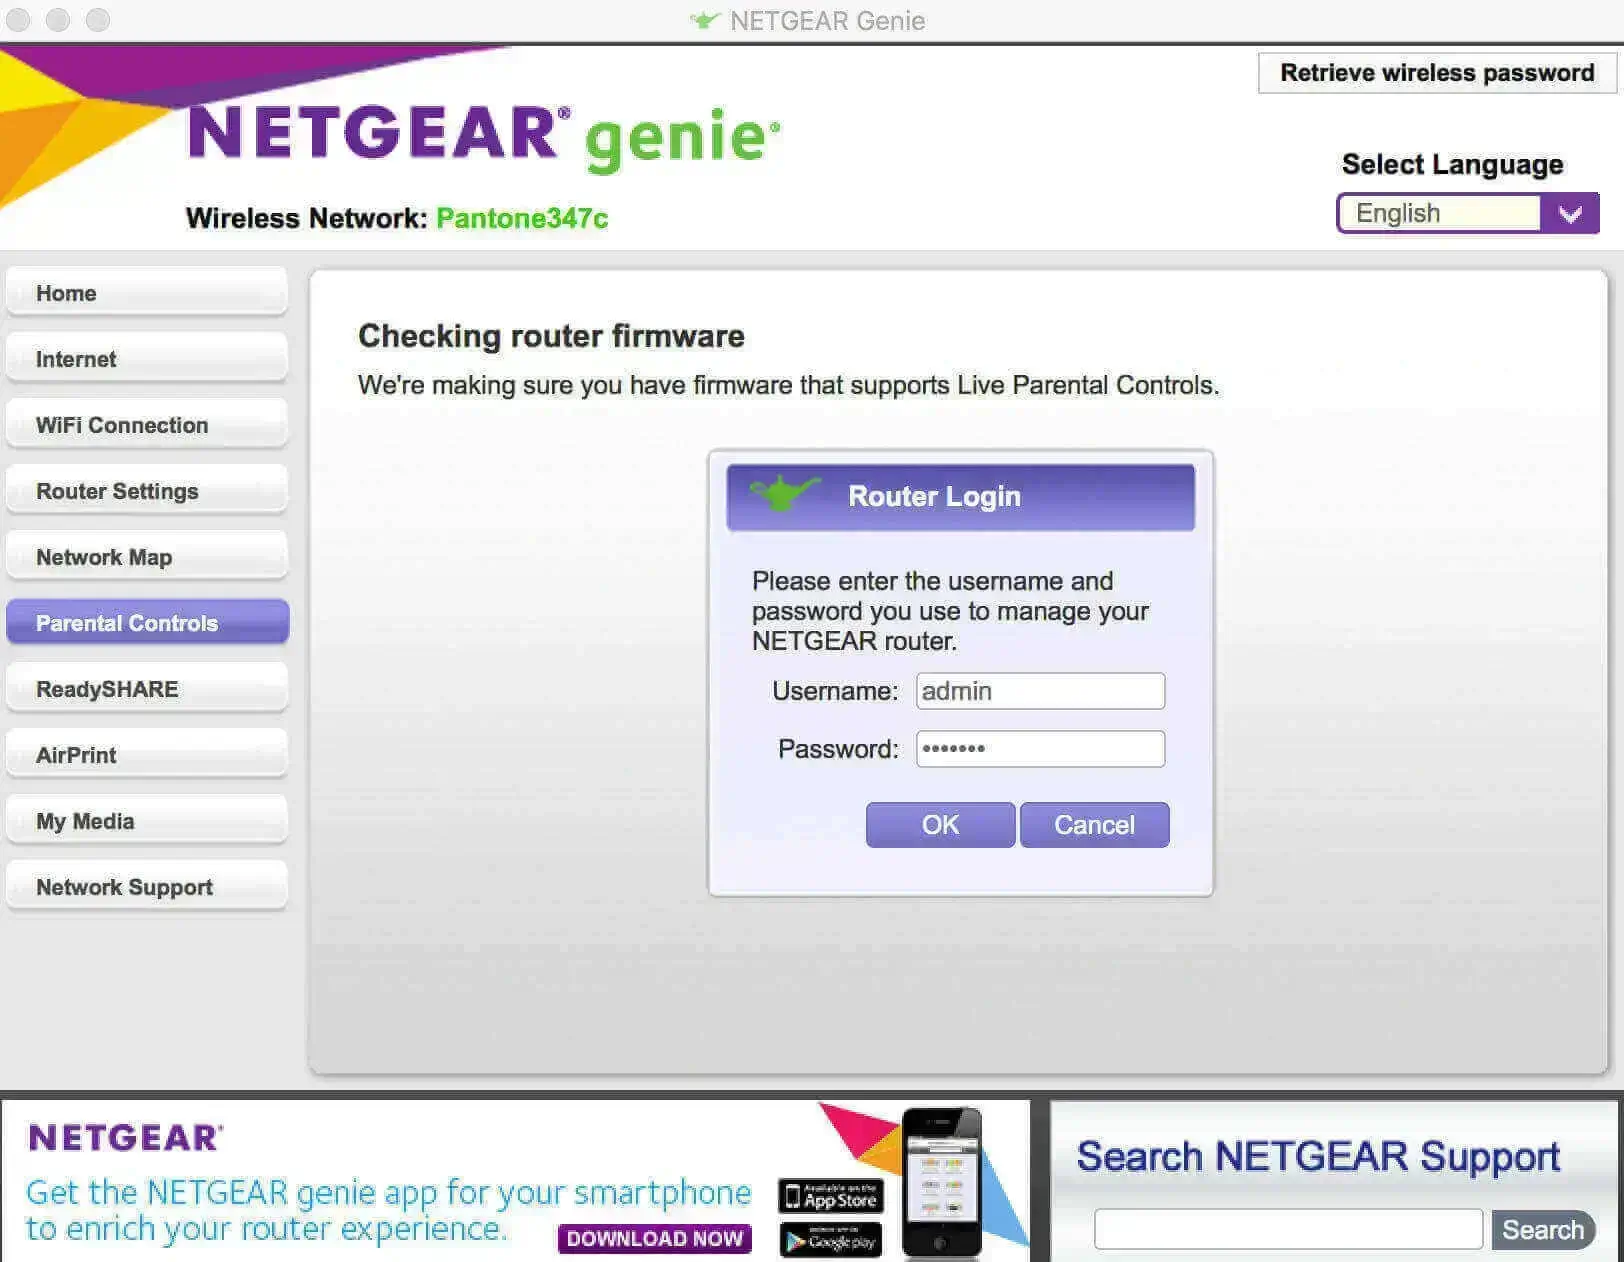
Open your web browser and go to https://www.mywifiext.net/ to access your adapter’s settings
In the event the Powerline 1000 is already connected to the internet, then the above link may not work. Try using this address https://192.168.1.3/
Go to the Maintenance option
Select Router Upgrade
Click on browse
Locate and select the file you recently downloaded
Click on Upload
Now, the router will be updated. Make sure this process is not interrupted
Conclusion
So, we hope that this comprehensive guide to the Netgear Powerline 1000 Setup will help you install and operate these devices on your own. Also, we hope the troubleshooting steps mentioned can be of help to any layman.
Also Checkout – Netgear Wifi Extender Setup
